Before running the examlpe, there should be a few preliminery steps done.
- Install Visual Studio. We’ve done this tutorial with VS 2022
- Install OpenCV. Download the extraceable file from OpenCV, extract it as the instructions guides you. Take a note for the path of the installed package. For my case it is
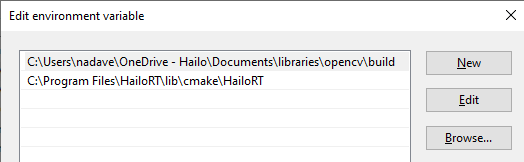
C:\Users\nadave\OneDrive - Hailo\Documents\libraries\opencv\build - Add the above path in the Environment Variables. If not already present, create a new variable called
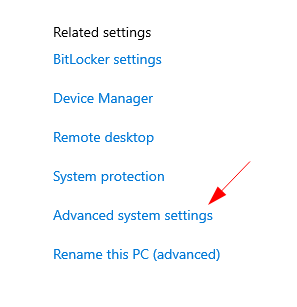
CMAKE_MODULE_PATHand add this path to it.(To get to the Environment Variables menu, right click on the Windows button, choose ‘System’, and then ‘Advanced System Settings’:
From there you would see the Environment Variable button. - Add an
OpenCV_DIRvariable with abuild\x64\vc16directory from the opencv directory. - Download the hailort
.msiinstaller from the Deverloper-Zone, and install it by following the instructions. By default, the hailort pacakge is installed in the Program Files directory. - Add the hailort directory, in my example
C:\Program Files\HailoRT\lib\cmake\HailoRTto theCMAKE_MODULE_PATHEnvironment Variable. After this step it would look like this:
Here’s an example of CMakeLists.txt file to test the environment:
cmake_minimum_required (VERSION 3.11)
project(setup_test)

set(CMAKE_CXX_STANDARD 20)
find_package(Threads REQUIRED)
find_package(HailoRT REQUIRED)
find_package(OpenCV  REQUIRED)