How to connect a Hailo-8 to the Raspberry Pi 5
In this guide, you will learn how to connect a Hailo-8 AI accelerator to the Raspberry Pi 5.
What you’ll need
- A Raspberry Pi 5
- A PCIe HAT
- A Hailo-8 M.2 module
Hardware
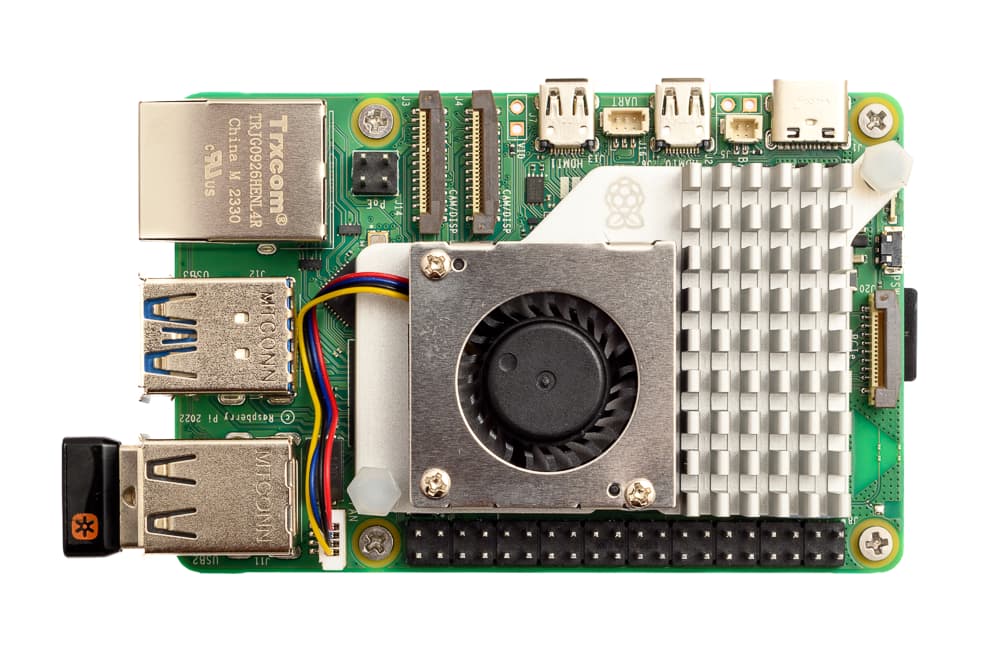
For this guide the Raspberry Pi 5 (8 GB RAM) model with the official Active Cooler and 27W USB-C Power Supply was used. The 4 GB model will likely work as well. The official USB-C power supply is recommended to ensure the board can supply the power for the M.2 hat.
General notes
The Raspberry Pi 5 requires a hat to connect to a Hailo-8 module.
The hats support different Hailo-8 M.2 modules (see below). The Raspberry Pi has a single PCIe lane therefore regardless of the choice of M.2 key only a single PCIe lane will be used.
Most hats are designed to be installed on top of the Raspberry Pi 5. This allows easy installation but may trap some warm air from the main CPU. Some hats have holes to help with airflow.
Some hats can be installed at the bottom. This could allow dissipation of heat from the CPU to the top and the Hailo-8 to the bottom of the housing for a fanless design e.g. for DIN rail installation.
Beware bottom hats where the module is on the inside between the Raspberry Pi PCB and the hat PCB are not recommended because they will prevent installation of a heat solution.
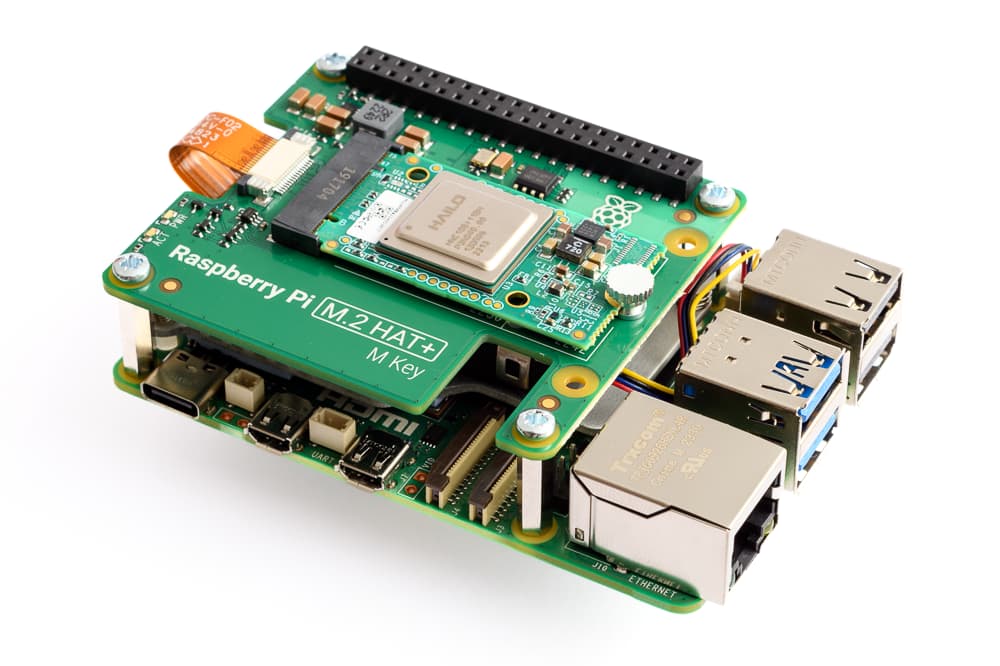
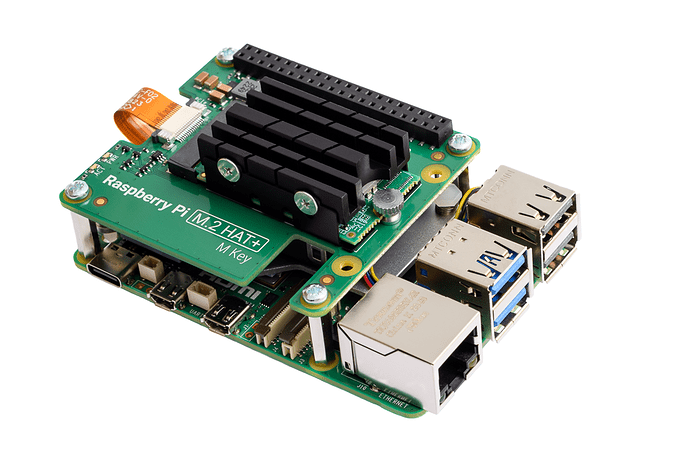
Raspberry Pi M.2 HAT+ M-Key
- The Raspberry Pi M.2 HAT+ M-Key can be used with the Hailo-8 M.2 key M or B+M module.
- The hat comes with a stacking header (not installed in the image below) allowing access to the standard 40-pin connector on the main board or the hat.
- The cut out above the camera connectors allows the installation of a Raspberry Pi camera without bending the flat ribbon cable.
- There are no electronic components in the M.2 area on the hat PCB. This allows the installation of a heatsink with a bottom bracket.
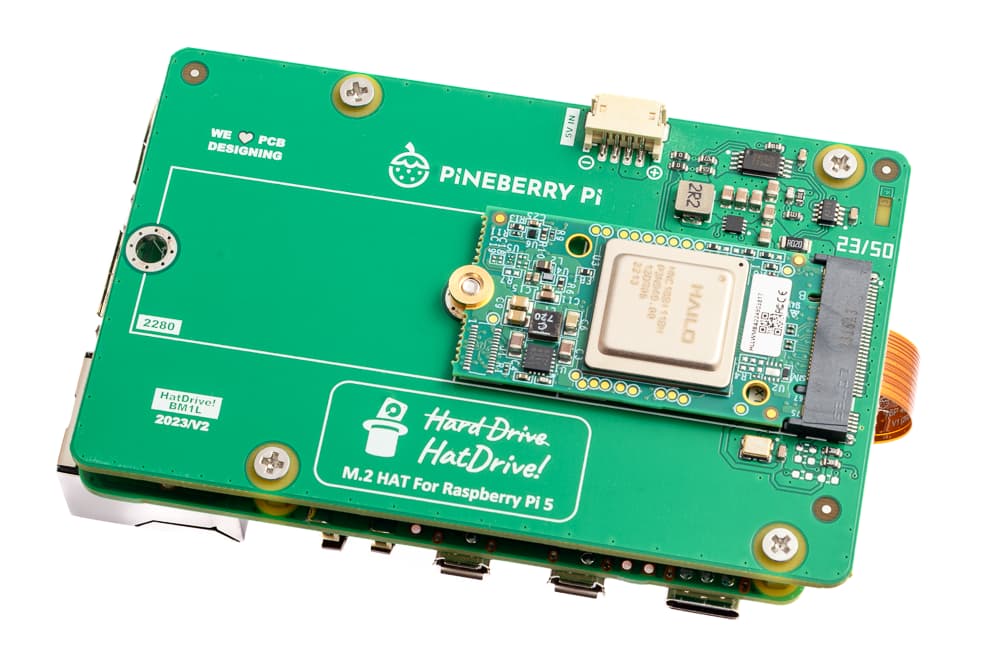
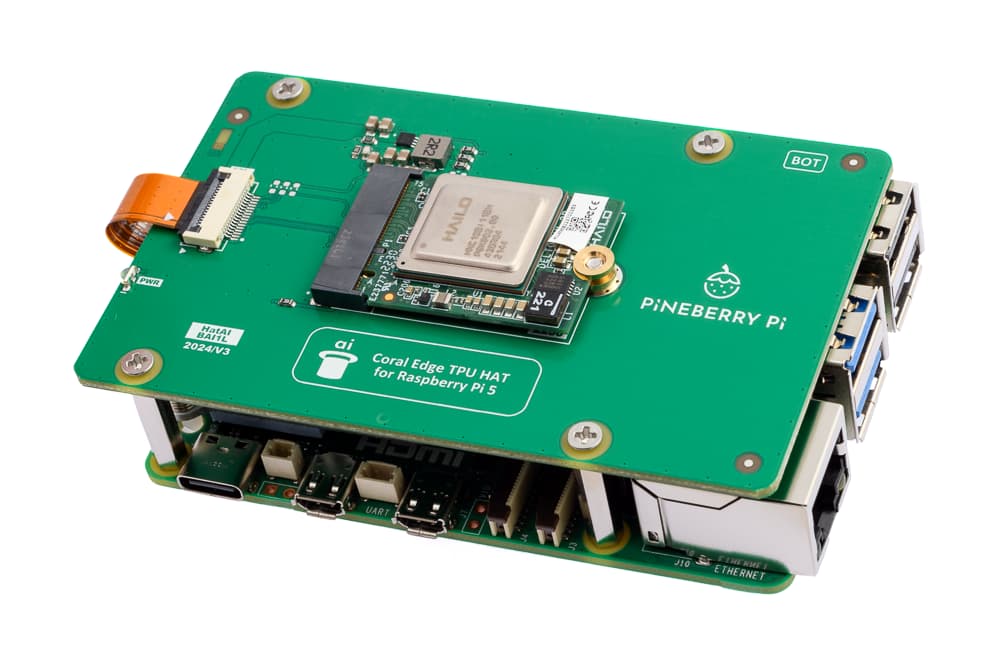
Pineberry Pi HatDrive! Bottom
- The Pineberry Pi HatDrive! Bottom can be used with the Hailo-8 M.2 key M or B+M.
- The flat ribbon cable blocks the SD card slot preventing easy exchange of the card.
- All connectors at the top are easily accessible.
Pineberry Pi HatAI!
- The Pineberry Pi HatAI! can be used with the Hailo-8 M.2 key A+E.
- The hat is as large as the Pi 5 increasing the overall height necessary by a few millimeters.
- There are no cutouts for the camera connector. This requires some creative bending of the camera cable.
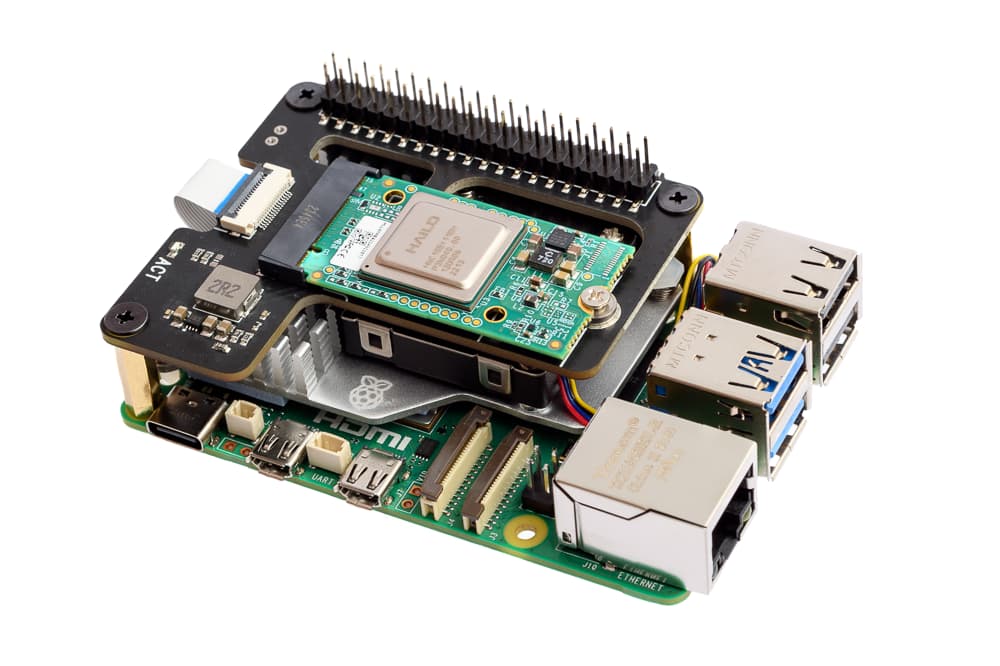
Geekworm X1000
- The Geekworm X1000 can be used with the Hailo-8 M.2 key M or B+M.
- The standard 40-pin connector is available at the top (not optional).
- A few SMD components in the M.2 area prevent installation of heatsinks with bottom bracket.
- Good access to camera connectors.
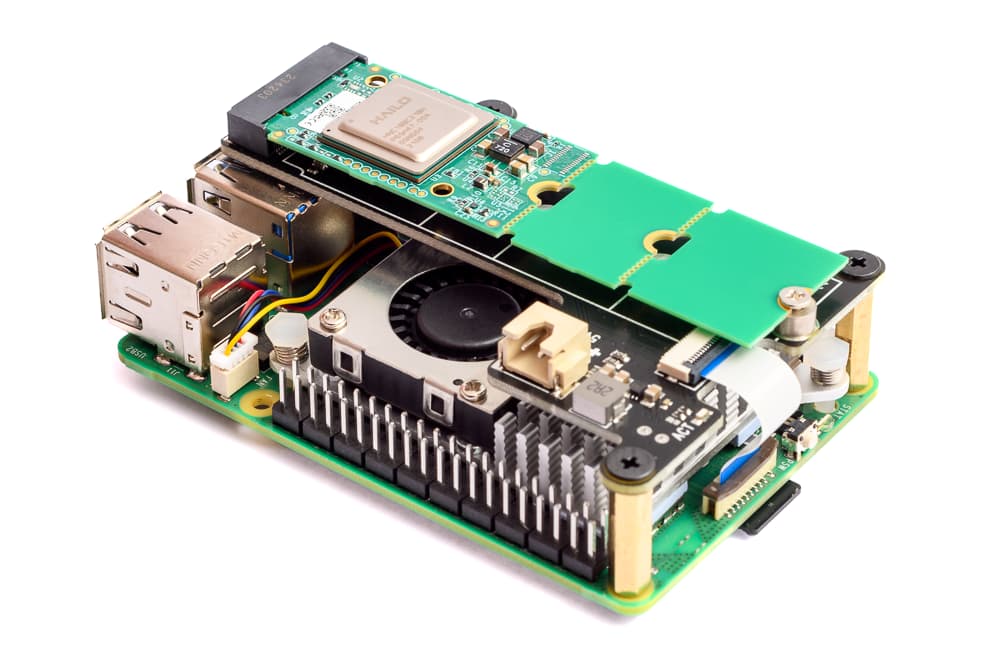
Geekworm X1001
- The Geekworm X1001 can be used with the Hailo-8 M.2 key M or B+M.
- The minimal PCB is full length of the Pi 5 increasing the overall height necessary.
- A few SMD components in the M.2 area prevent installation of heatsinks with bottom bracket.
- The camera connectors are partially covered. This requires some creative bending of the camera cable.
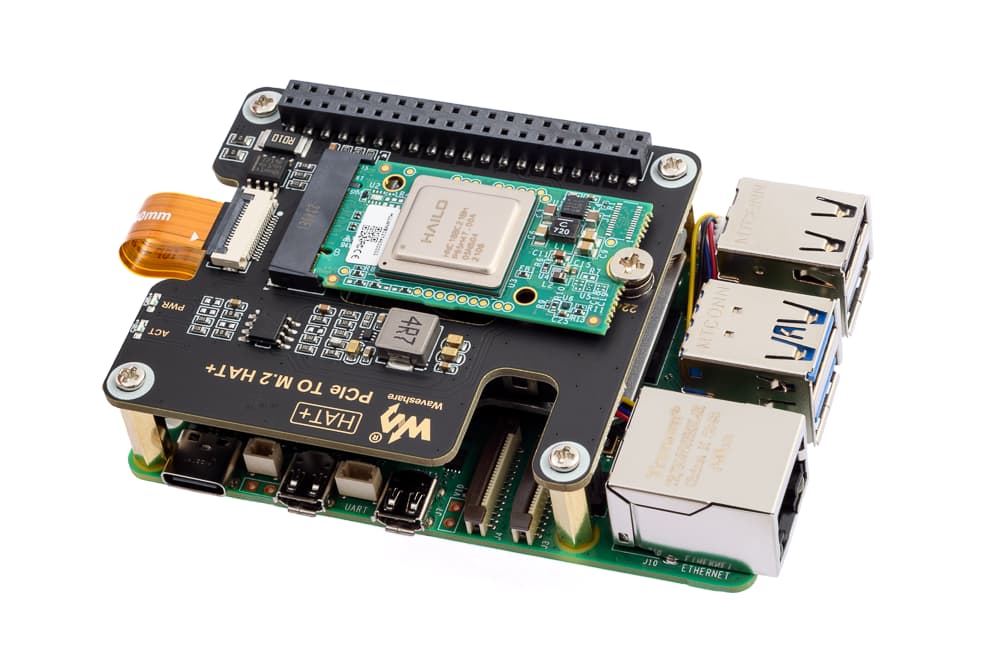
Waveshare PCIe TO M.2 HAT+
- The Waveshare PCIe TO M.2 HAT+ can be used with the Hailo-8 M.2 key M or B+M.
- The hat comes with an optional stacking header allowing access to the standard 40-pin connector on the main board or the hat.
- The cut out above the camera connectors allows the installation of a Raspberry Pi camera without bending the flat ribbon cable.
